Building an AI SuperServer for LLM training and experiments
Impressive new language models like Llama and Mistral have broadened the accessibility of AI training. If you want to fine-tune a model with your own data, it's now relatively easy to do with tools like Axolotl and a few dollars spent on a GPU cloud. But if you want to go deeper and train larger models or try new methods, the cloud bill can quickly rack up. Renting 8 A100's on AWS will set you back an astounding $350,000 per year! There are cheaper clouds, but they can still cost tens of thousands a year.
I've always enjoyed building PCs. I remember when I was 16 and my grandma bought me my first PC to assemble myself. So in the name of fun and saving money, I embarked on building an AI server so that I can more affordably do independent AI research.
Your options #
Depending on your budget and use case, there are a few routes to take when building an AI server.
Open frame #
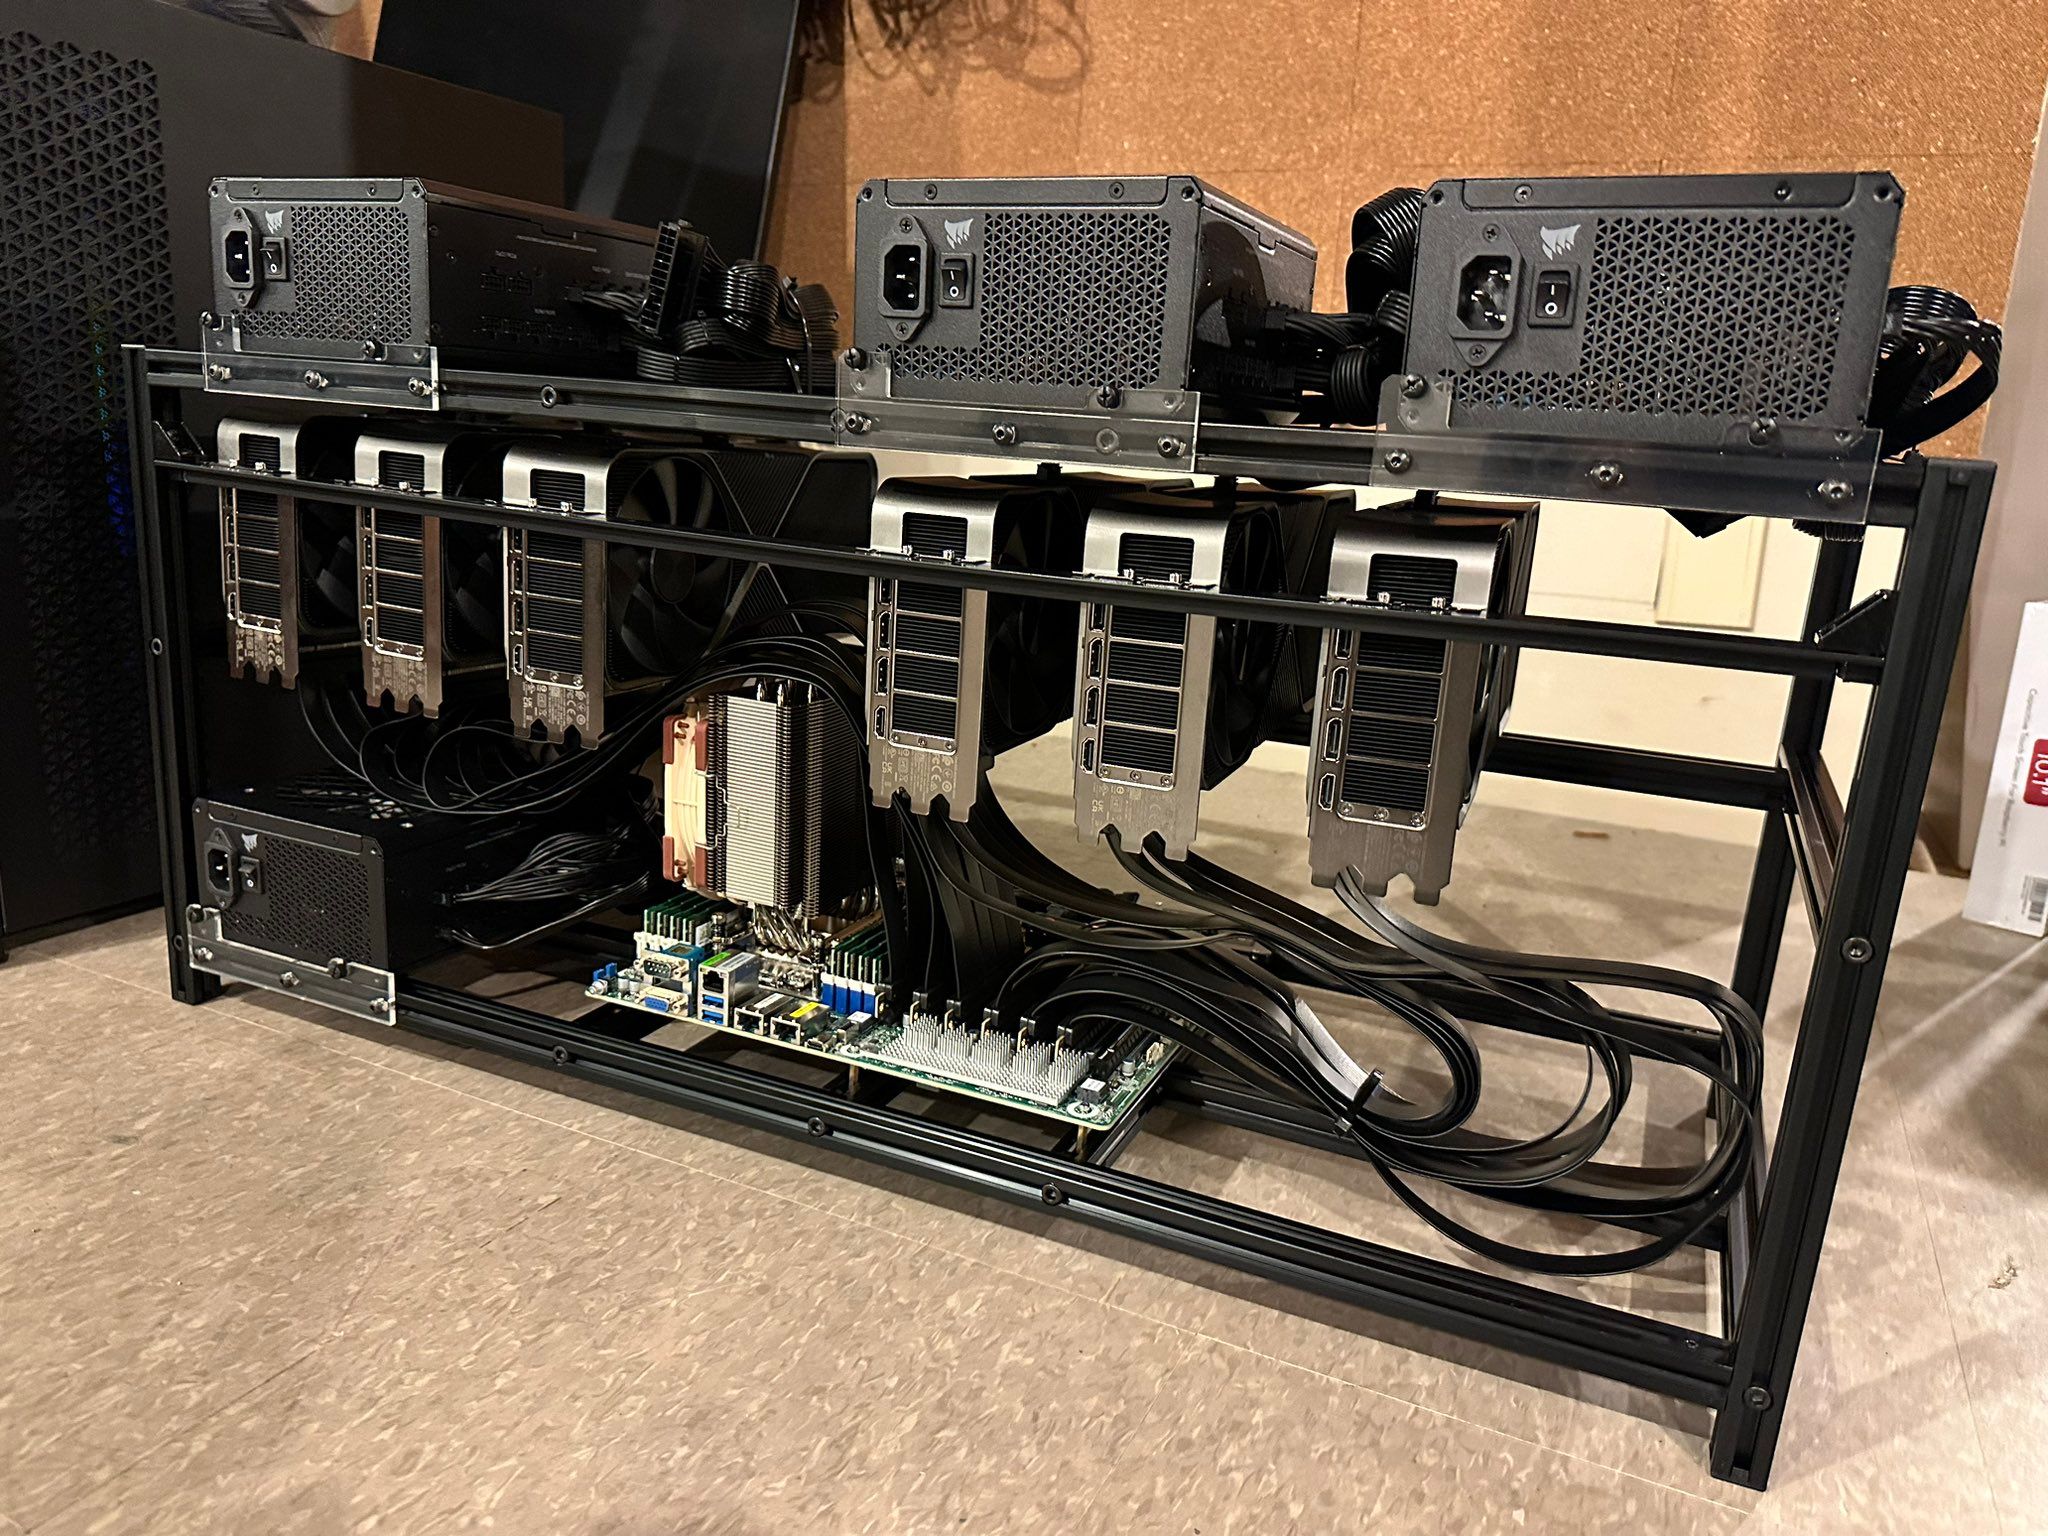
If the server is just for you, and you want to keep it at home or in your basement, the most affordable option is essentially a powerful consumer PC, with an open frame case (originally designed for crypto miners). You'll be able to find a lots of advice on Reddit for this route.
The important things are a motherboard that has lots of 16x PCIe slots, PCIe risers with redrivers, and multiple PSUs (depending the number of GPUs you choose). You'll be able to buy everything second had if you like, including the GPUs. For GPUs you're best going with RTX 3090s or 4090s in this setup, and because there's no case, you won't have issues with space or airflow.
The benefit if this route is cost, but also the ability to start simple with just a single GPU and grow as you desire by adding more.
Rack server #
If you're planning to train larger models, have more servers, datacenter GPUs or just don't have anywhere to house a noisy hot server at home, you can go the rack mountable server route. This is the the route I've gone, as our house doesn't have a basement and our internet isn't that fast. My server now lives in a datacenter where it's cooled and well connected.
I found less resources on this route, so the rest of this guide is aimed at helping you build and setup a rack mountable GPU server.
Building the server #
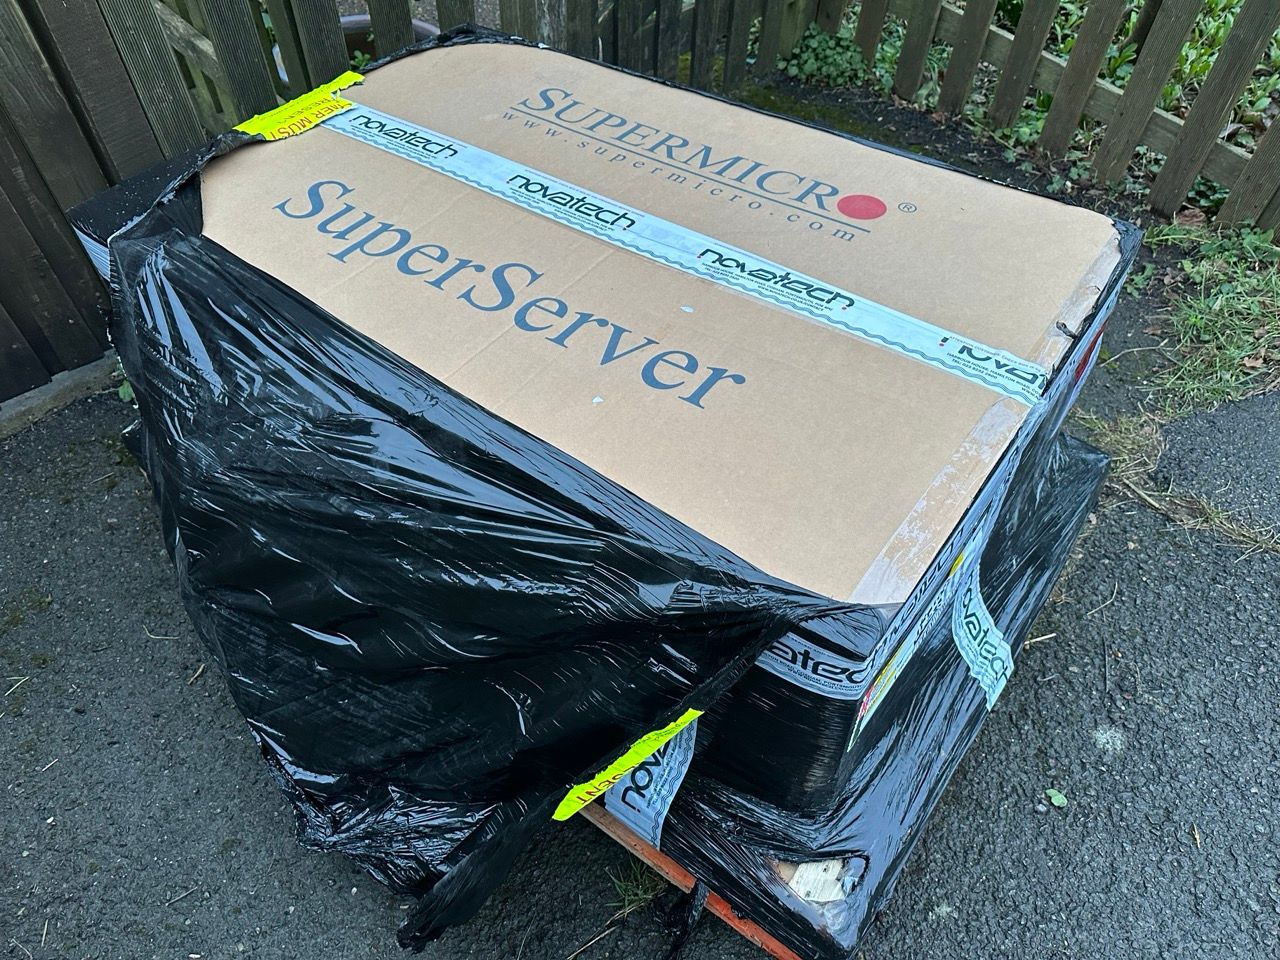
Supermicro make great server systems and many specifically for AI use cases. For example the SuperServer 4029GP-TRT2 is a mid range 4U dual CPU server with 10 PCIe slots - ideal for filling with GPUs! I found a well priced one from an IT supplier in the UK. The newer model is more expensive, but may be easier to find. Note that the model I used only have PCIe 3.0. If you are using RTX 4090 or a newer datacenter GPU, you will probably want the newer model which supports PCIe 4.0.

It arrived at my house on a pallet. It was heavier than I expected!
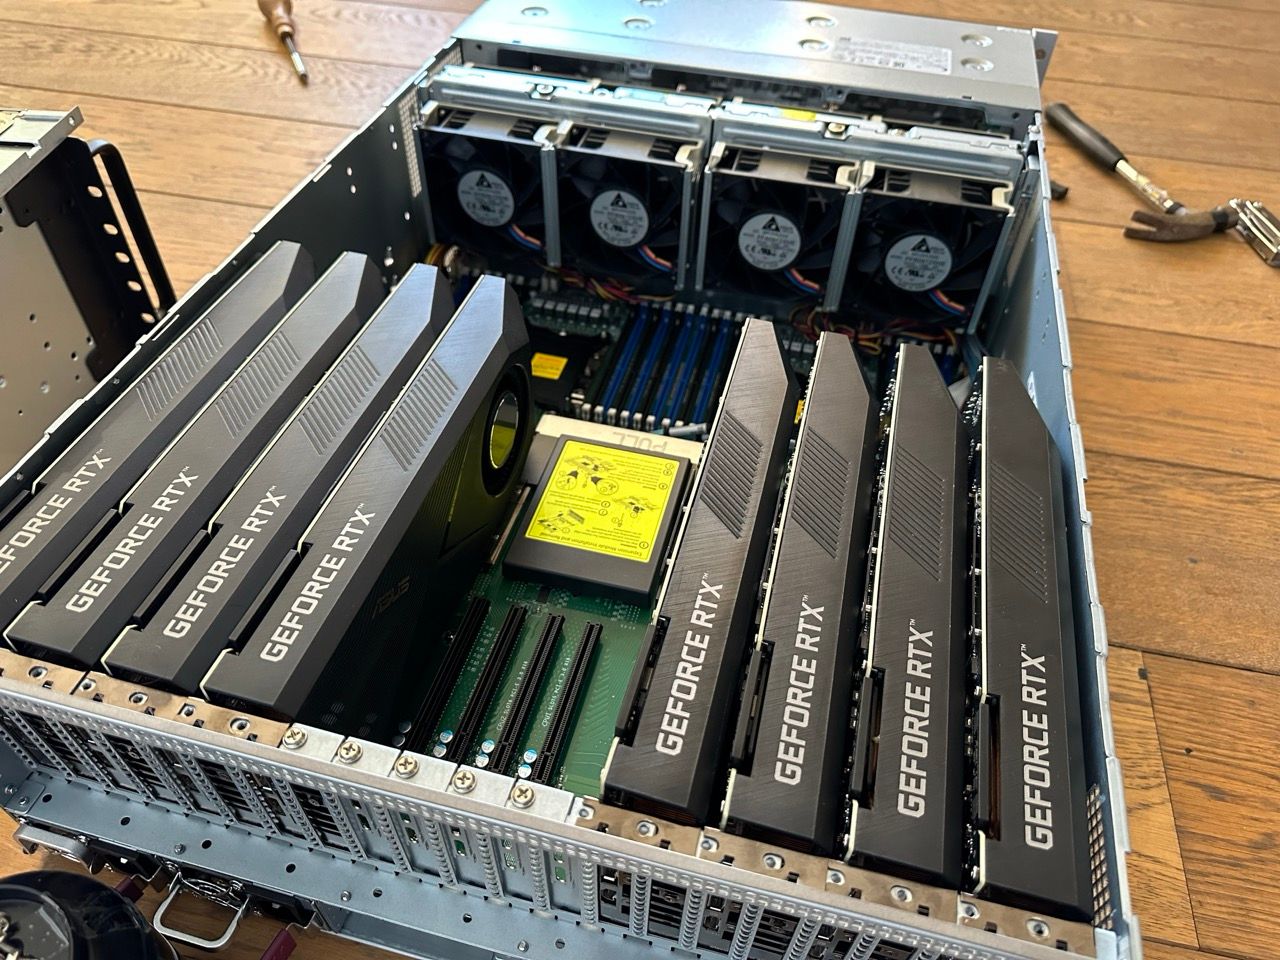
After lugging it up the stairs and reading the manual, I installed 10 RTX 3090s I bought second hand from someone who previously was using them for mining. Note that to fit the maximum number of GPUs in a system you'll need to find blower or turbo style GPUs that are only two slots wide. The vast majority of 3090 and 4090 GPUs are for gaming, and they will take up 3 slots and the power comes out the top and you won't be able to put the case on your server. If you can't find blower consumer GPUs, you're next best bet is the RTX A6000 which is still fairly good value for money, even if it's still 3x more than a 4090.
You'll also need to add the CPUs (two of them), memory and storage. I sourced everything secondhand from eBay. Most things cost no more than a few hundred dollars each. I went with 2x Intel Xeon Platinum 8160, 12x32GB DDR memory and an 8TB SSD.
Once everything was installed, I turned it on for the first time - what I heard could only be described as a mini jet engine. Server fans are noisy.
Next step was to setup the OS and environment.
Setting up the OS #
Supermicro servers have in inbuilt webui called IPMI for accessing the server console and monitor output. There is a dedicated lan port for PICE on this server. You should also plug in a second lan cable to one of the main lan ports, otherwise your server won't actually have internet access (this confused me initially).
It will find an IP with DHCP, so I just logged into my router to see the IP it was assigned and visited that in my browser. You'll be asked to login, username is 'ADMIN' and the password is printed stickers in several places in your server case.
I decided to install Ubuntu 22.04 sever. Create a bootable Ubuntu USB stick and plug it into the server. Now connect to the webui console by going to the server's IP then clicking Remote Control > iKVM/HTML5 and click the button. You can now reboot the server and you'll see the BIOS popup, where you can hit an F key to choose a boot drive. Do this and select the USB.
The IPMI web console doesn't support pasting text. So getting your ssh pubkey over is a bit of a pain. Here's a solution I've used:
- On your local computer with has your ssh pubkey on it, run
cd .ssh && python -m http.server(you are about to serve your private key over http without authentication, please be aware this isn't a great idea). - On the server, via the IPMI web console, login with the user you created when installing Ubuntu, and run
wget -qO - "http://192.168.178.21:8000/id_ed25519.pub" > ~/.ssh/authorized_keys && chmod 600 .ssh/authorized_keys. - You should now be able to ssh into your server. Remember to stop the
python -m http.serveron your local computer now.
Important system tweaks #
There are some tweaks we can do to improve the performance and reliability of our server. Following the tips here (archived page if Medium paywalls that page), first disable the kernel security patches on computing instances. The collateral performance penalty is much more expensive than the imposed risks. Edit /etc/default/grub and add:
GRUB_CMDLINE_LINUX_DEFAULT="pti=off spectre_v2=off l1tf=off nospec_store_bypass_disable no_stf_barrier"
It's also critical to disable IOMMU if you plan peer-to-peer GPU communication, e.g., multi-GPU model training in Tensorflow or PyTorch. Also add to /etc/default/grub:
GRUB_CMDLINE_LINUX_DEFAULT="intel_iommu=off rcutree.rcu_idle_gp_delay=1"
Check GPU P2P communication #
If you're using a GPU that supports it, P2P communication speeds up things a lot.
Note it's important check PCI Access Control Services (ACS) is disabled.
You can follow these steps to test your system's GPU P2P speed: https://docs.nvidia.com/deeplearning/nccl/user-guide/docs/troubleshooting.html#gpu-to-gpu-communication
NVIDIA drivers and python environment #
We now want to get the NVIDIA drivers, CUDA and our Python envs setup.
I've had success using these steps to install CUDA v11.8: https://gist.github.com/MihailCosmin/affa6b1b71b43787e9228c25fe15aeba Some people have mentioned using a higher NVIDIA drivers version than the nvidia-driver-515 in the script. But be beware there's a bug in driver version 545 that prevents 3090 and 4090 cards from using P2P (see this github issue for a discussion on the problem). If you have a driver with this bug, you may find your training run stalls and times out. Version 535 worked well for me.
I like to use Conda with the fastchan channel for my environments. But you may enjoy a different python virtual env tool.
Now you can train some AI #
I'm enjoying using Axolotl for LLM fine tuning. HuggingFace Transformers is also a great place to start.
Datacenter trip #
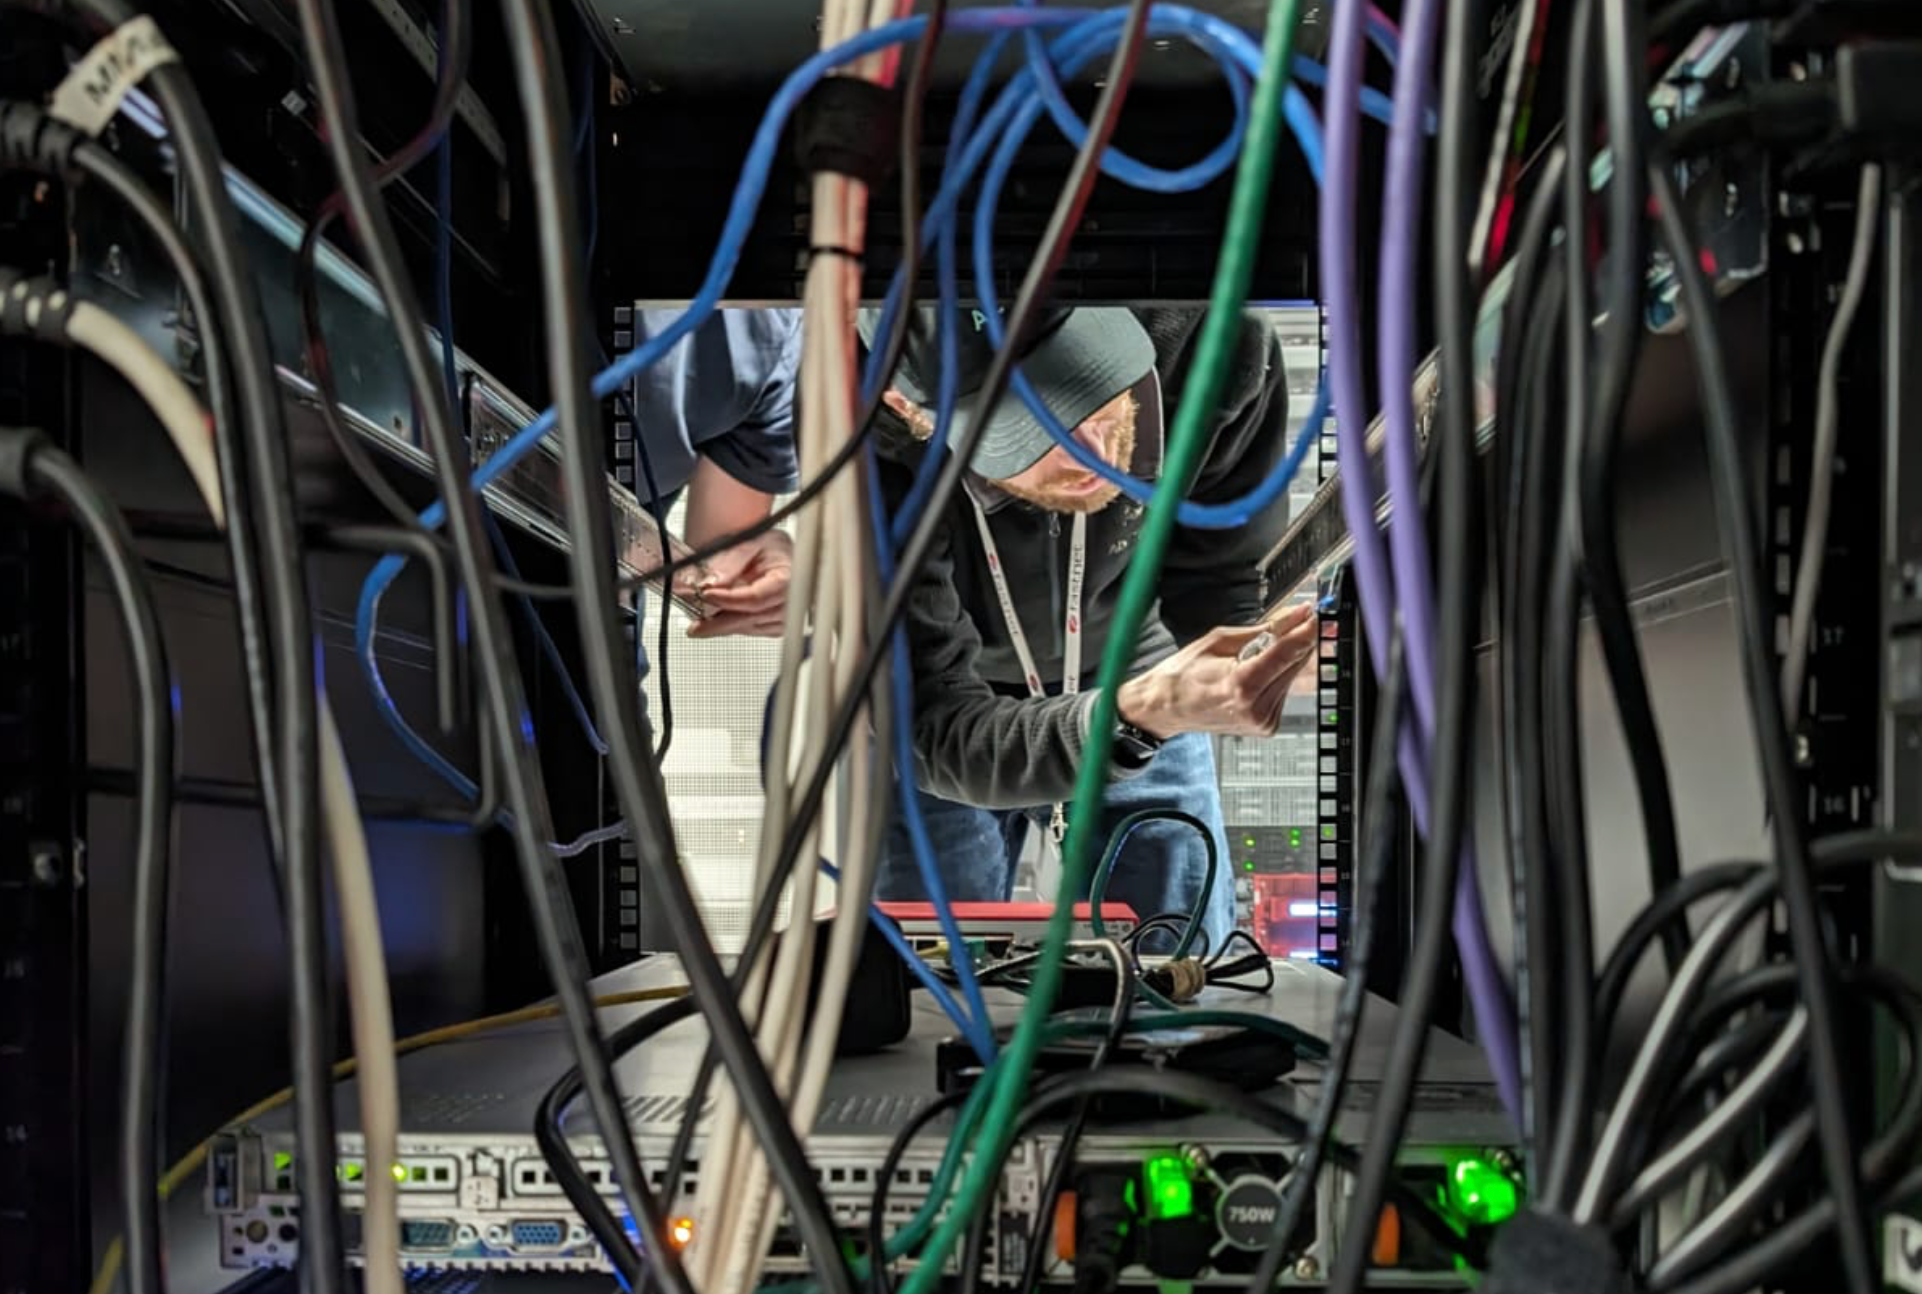
Since the GPUs are super noisy and hot, I found a local datacenter that would colocate it for a reasonable cost. Installation was easier than I expected, although we ended up putting it on a lower slot on the rack because it was too heavy to lift half way up without a lift.
This Colocation Survival Guide was super helpful, as it walks you through all the aspects of colocating, from the physical setup to networking.
Other things #
Set a lower max power limit for GPUs #
Some people find that lowering the power limit just a bit will reduce max temp without any real performance sacrifice. I set the max power for my RTX 3090's to 300W (from 305W) by following these steps.
Docker bug workaround #
If you're planning to use Docker with the GPUs, note there's a bug on Ubuntu 22.04 which needs working around.
Going bigger? #
If you're planing to build a cluster, there is an excellent video from the Lambda team: Building a GPU cluster for AI.